,,Once Christmas is over, the flame of love burns a little dimmer, but if we take care of it, it won't go out just yet.”—as the song by Neoton Familia goes.
Although the new year is here, we can still feel a bit of the Christmas spirit. This gives us a little extra boost to start the year off right, allowing us to easily readjust and tackle the period ahead with renewed energy. January, then, is an opportunity for renewal, planning, and celebration.
Special occasions accompany us throughout the year and offer a break from our daily routines. On these special days, we can express our creativity and artistic talents.
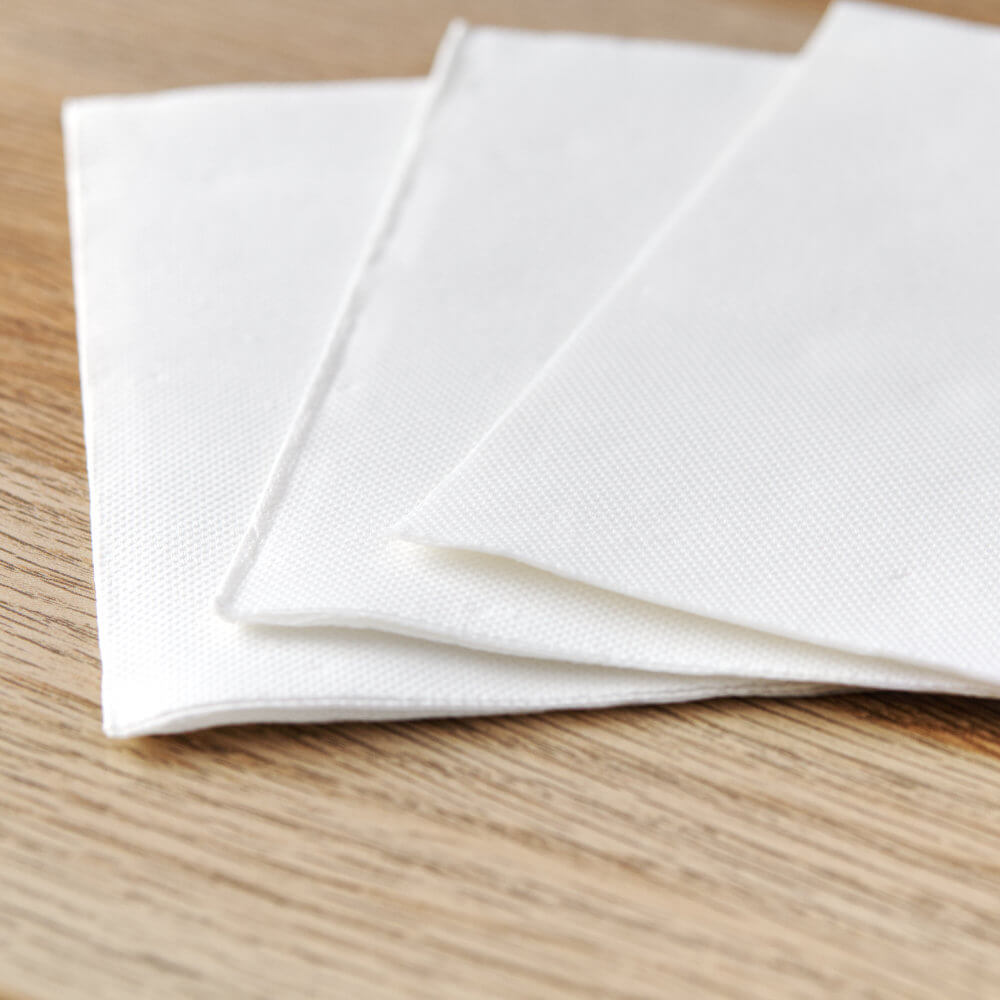
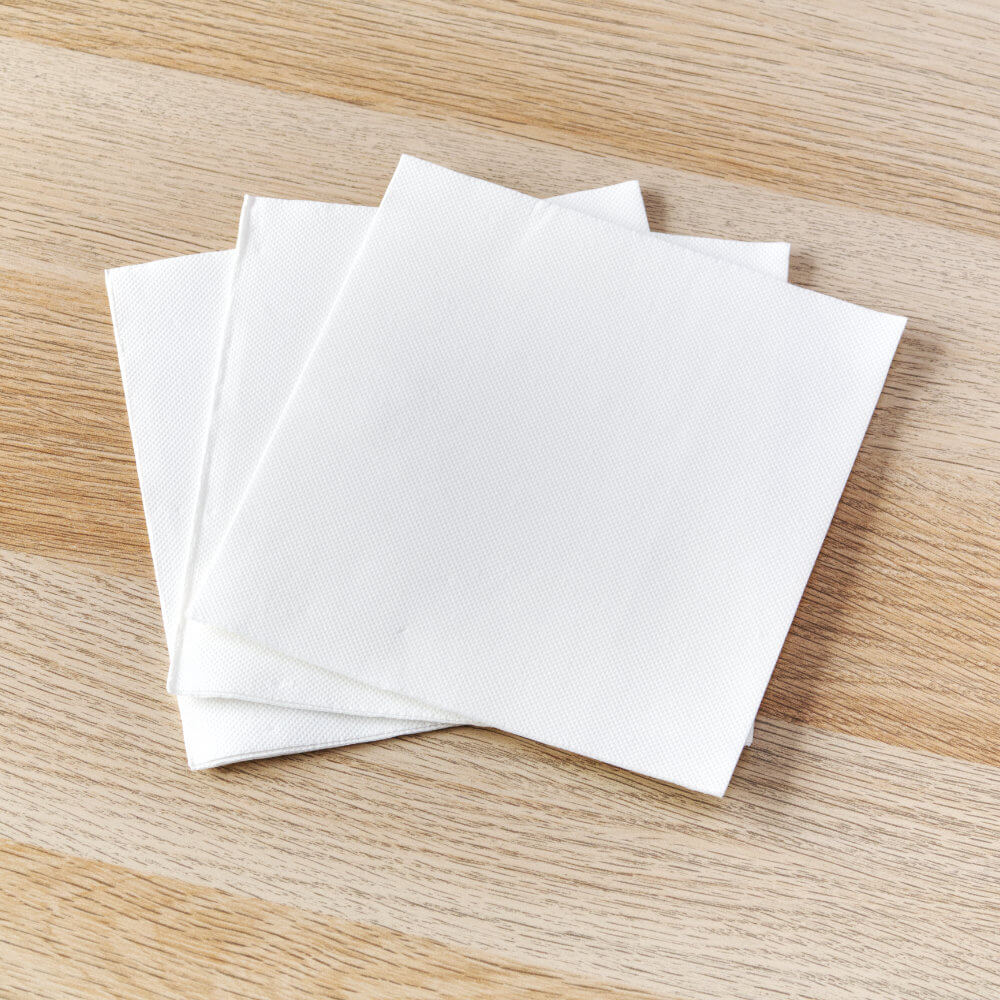
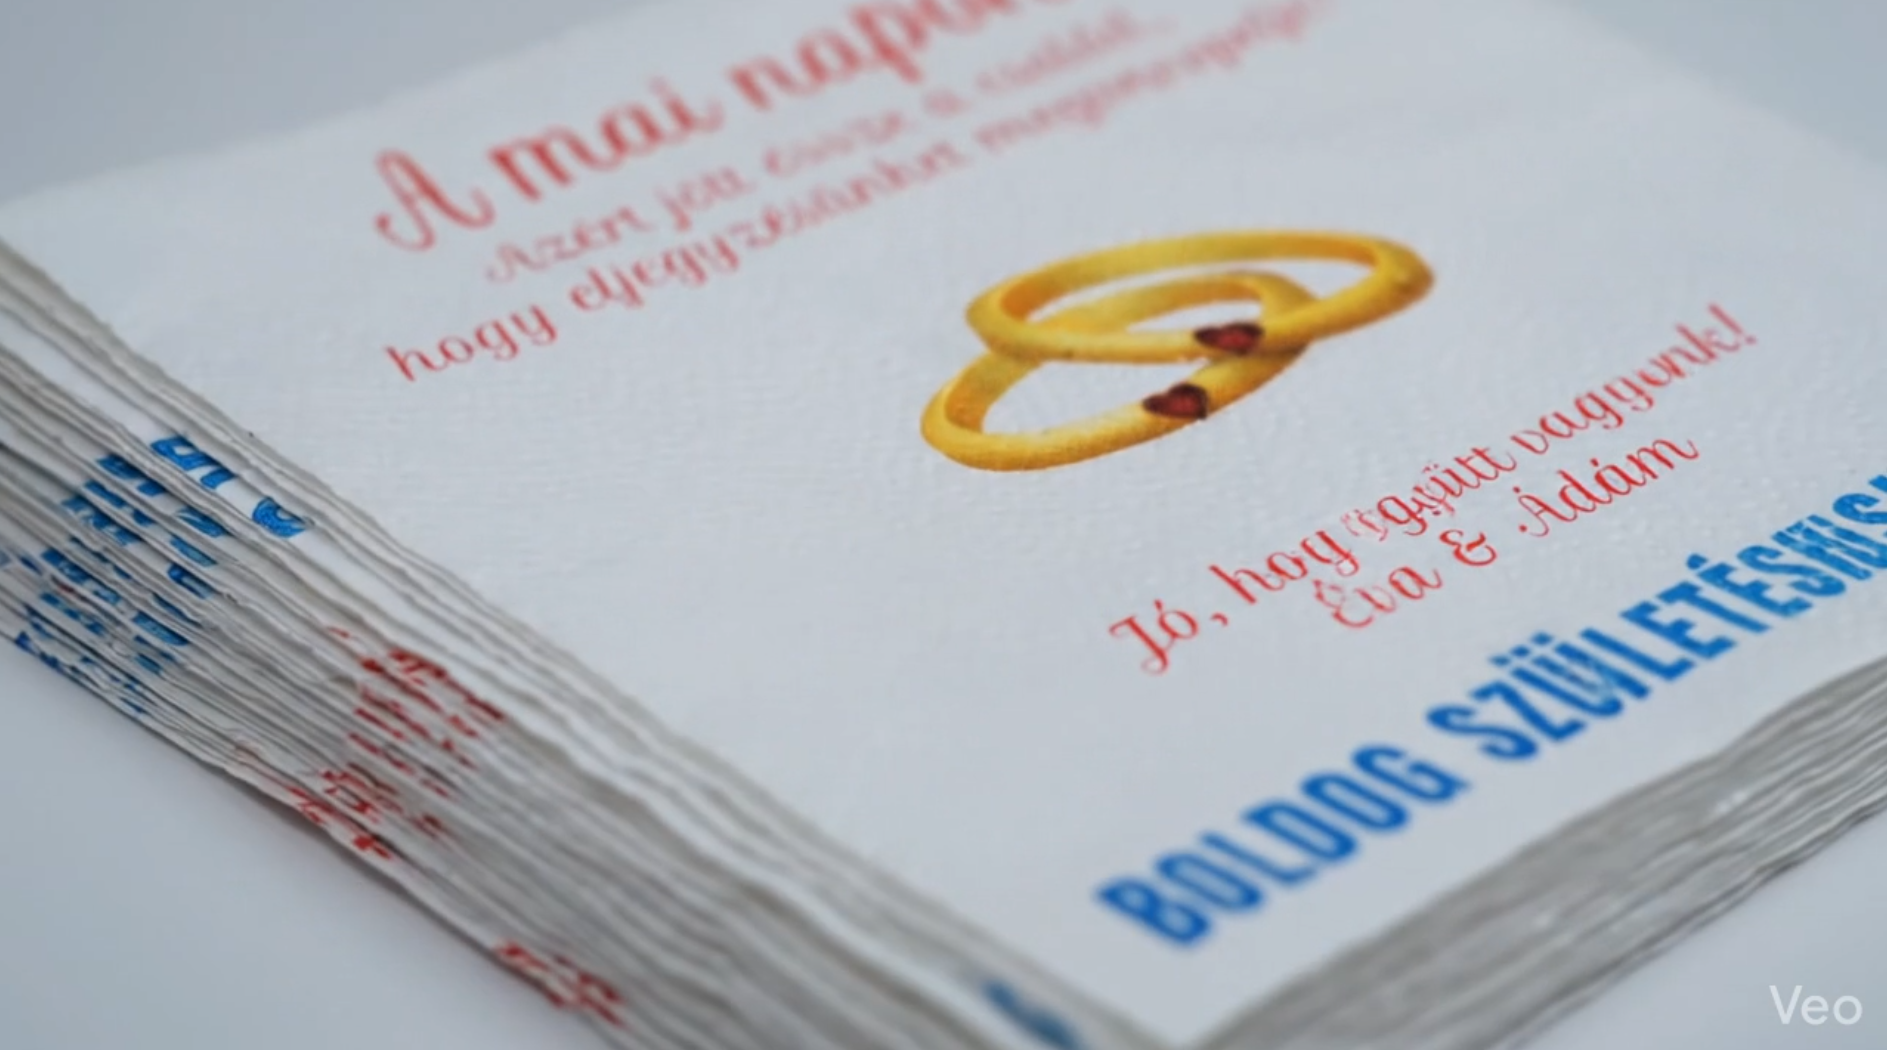
We often try to make the moments we spend together a little more personal and unique, or to surprise our family members and loved ones with something special. For us, dinner or lunch is an integral part of such occasions, and we can make it truly special with a well-arranged table setting and napkins. It’s easy to tailor it to the mood, theme, event, or season.
Napkins on souvenir items:
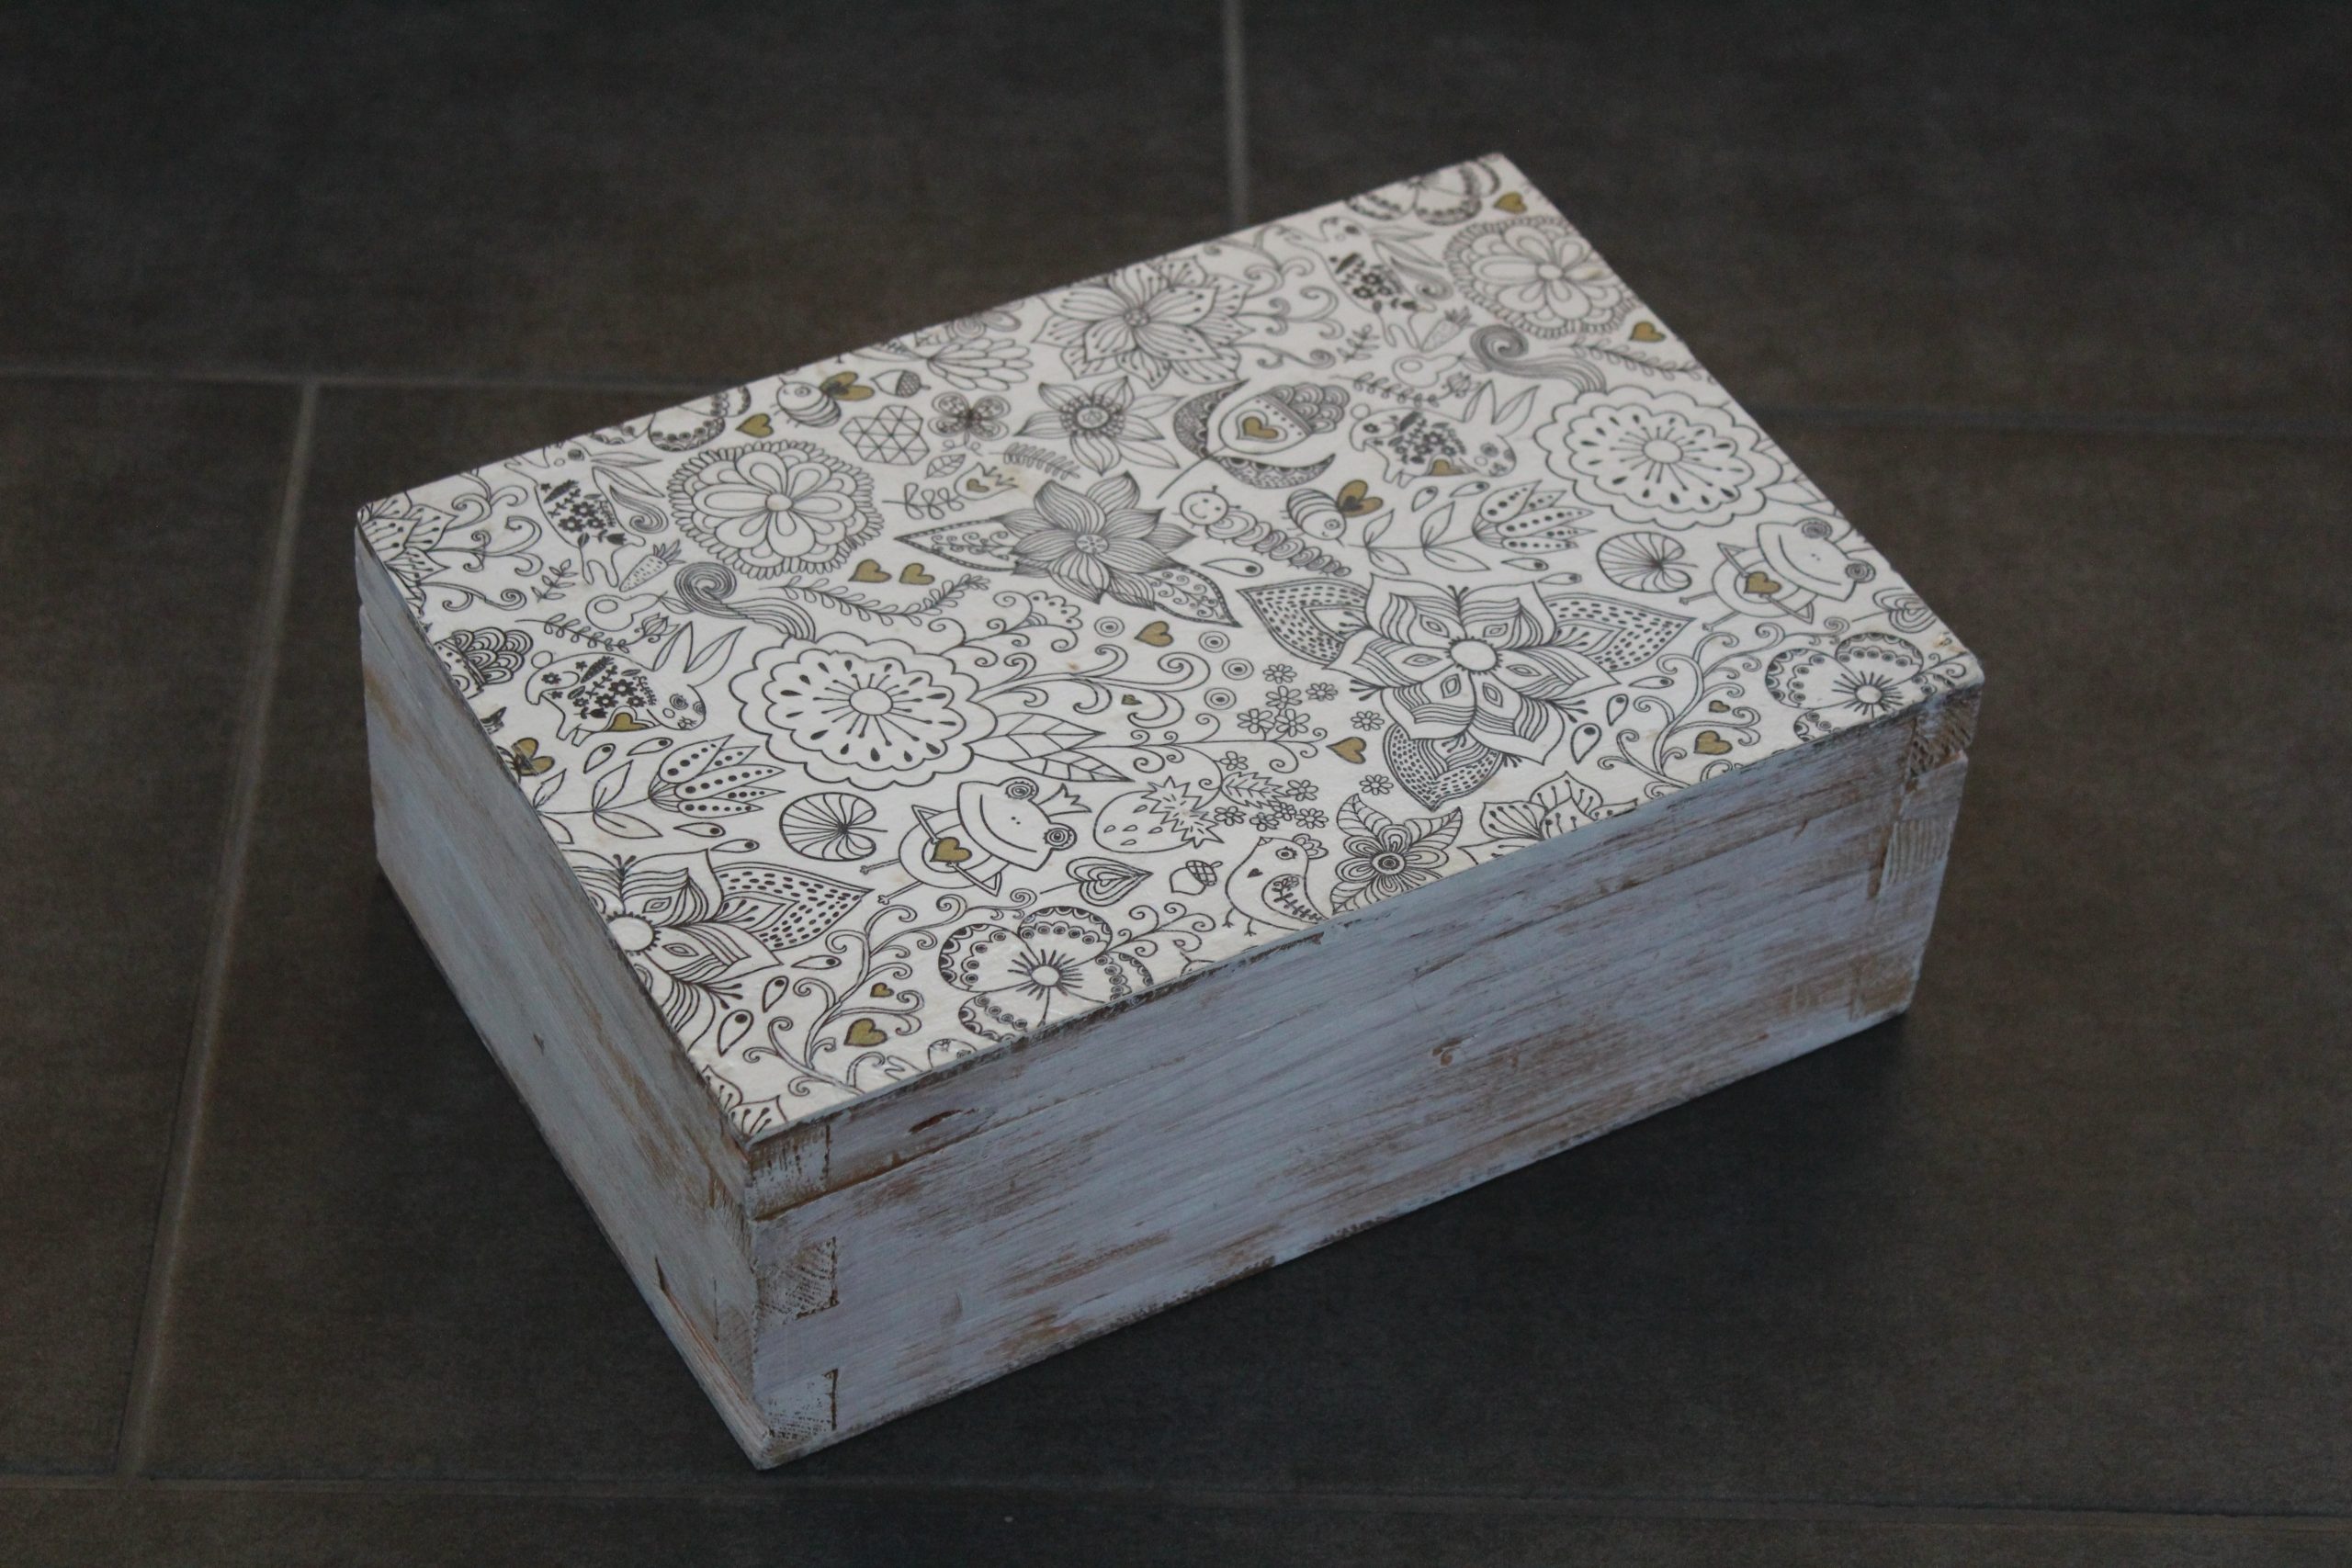
There are many other ways to use custom-printed napkins. Traditionally, they’re used as part of a table setting, but they also serve as keepsakes. They can also be used as a creative medium, for example, in decoupage, which can be used to decorate picture frames and gift boxes.
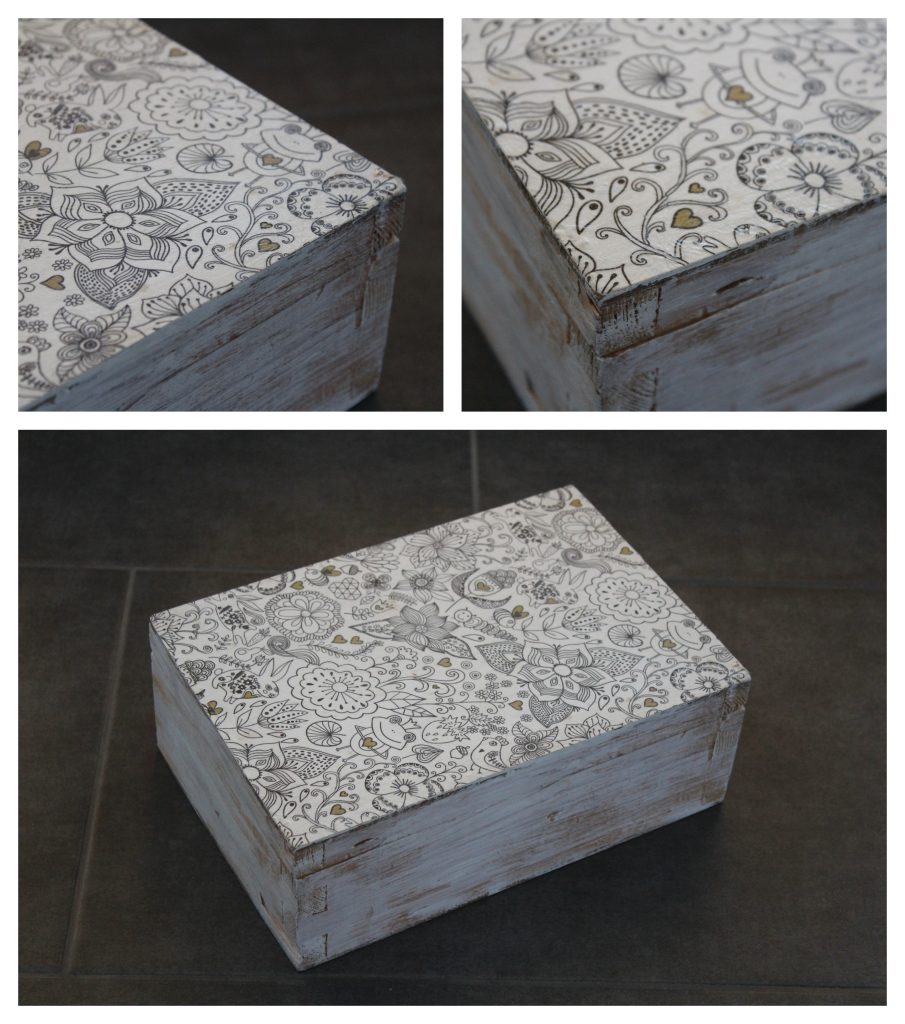
Supplies needed for this:
- paper napkin with any pattern
- with an old photo or even a drawing by your child.
- An object on which we'd like to see the picture (picture frame, wooden box, Christmas tree ornament, etc.)
- decoupage glue
- ecset
- (acrylic) paint (recommended color: white or, in any case, a very light pastel color)
The simplest way to prepare it:
- Clean the surface to be decorated and paint it evenly with a light color. As for the paint, I would recommend a type (e.g., acrylic) that dries to a water-resistant finish so that it does not dissolve when exposed to moisture during the application of the adhesive layer.
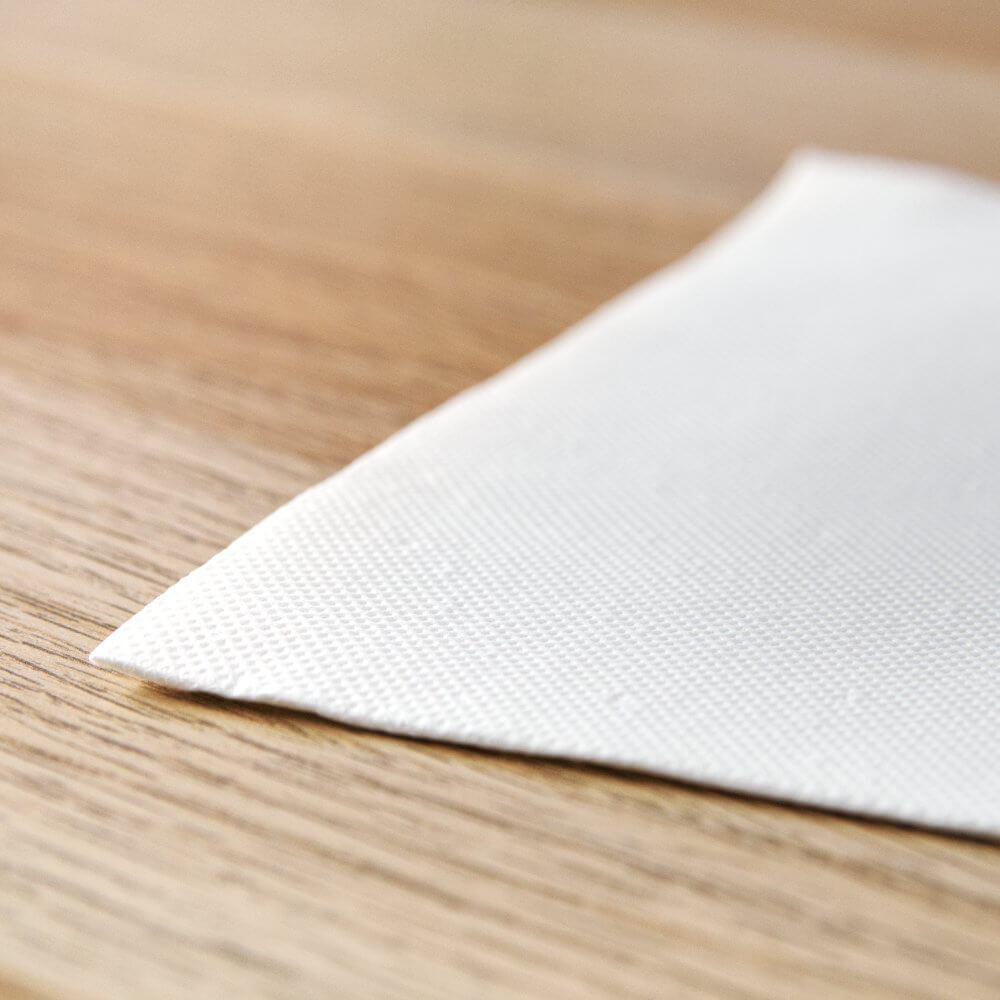
- While the base is drying, carefully peel off the top layer of our custom napkin. If you only want one or two motifs from it rather than the entire surface, carefully tear around them. The torn edge won’t be visible on the finished surface once it’s dry.
(Extra tip: It’s easier to tear off the pattern if you trace around it with a damp brush—leaving a slight overlap—so you can simply tear off the desired section along the damp paper.) - Apply decoupage glue to the painted, dried surface, then press the napkin onto it, printed side up. Using a brush, apply another layer of glue to the napkin, working from the inside out, to remove any air bubbles.
- It's important to note that the embossing will disappear from the napkin, leaving us with a nice, smooth surface. Once it's dry, you can varnish it if you like.
Using this technique, we can turn our napkins into lasting mementos, so that whenever we look at them, we can recall a cherished moment.
Choose one of our premium paper napkins as inspiration for your ideas and create your own keepsake. 🙂 https://szalvetatervezes.hu/termekkategoria/szalveta/
But how does the napkin designer work?
Don't worry! I'll write it down!
Choose which napkin you'd like to print on
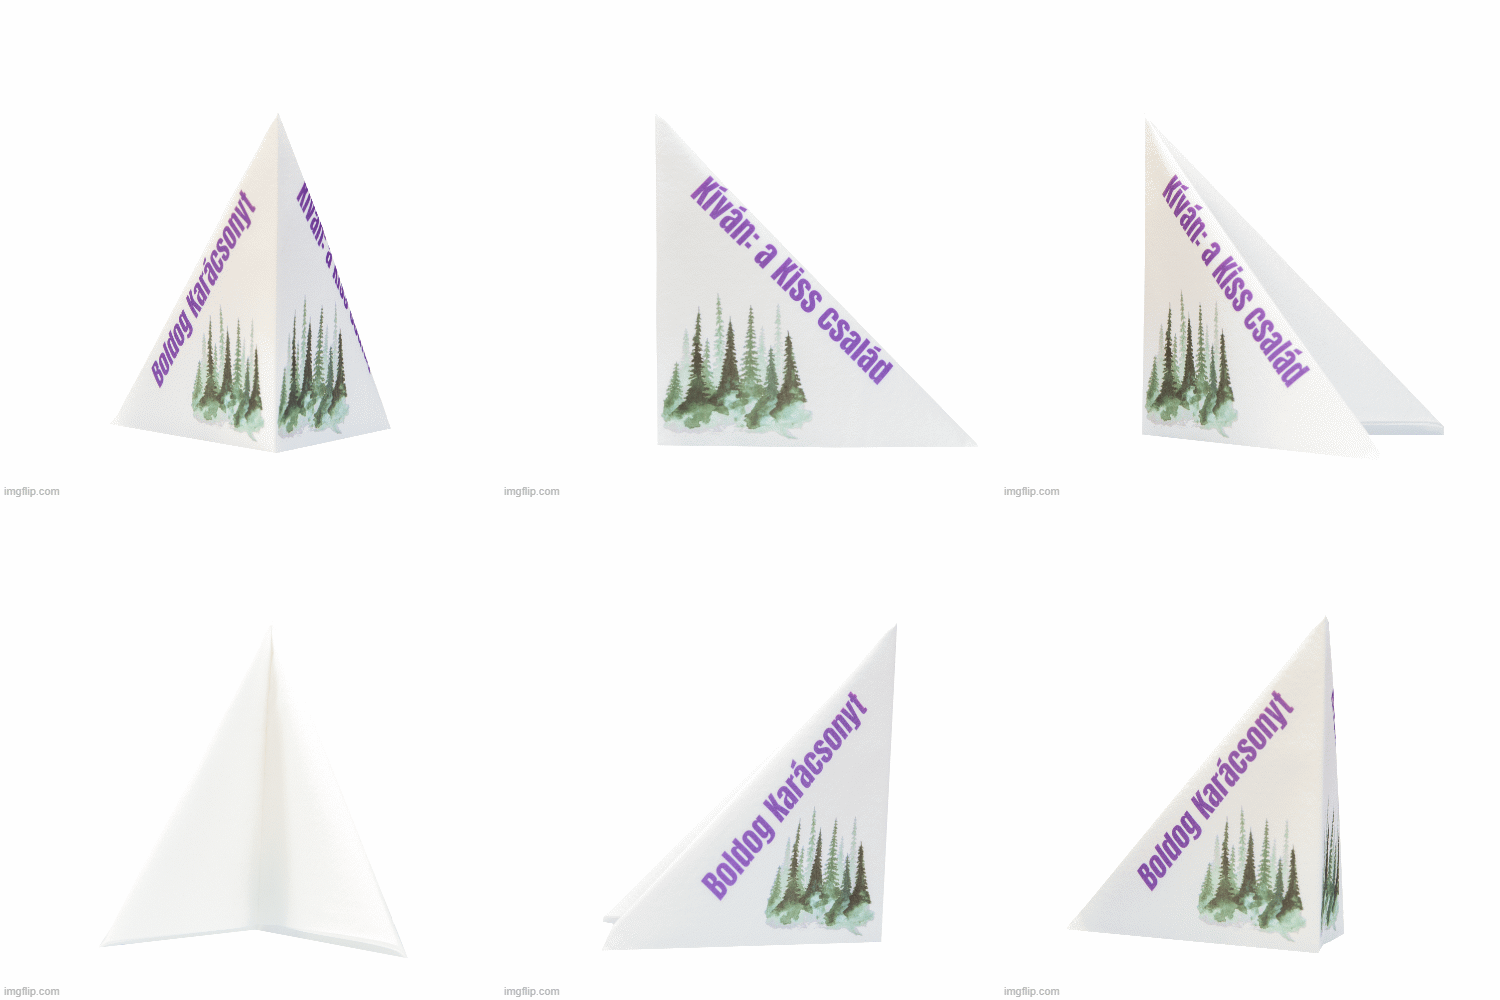
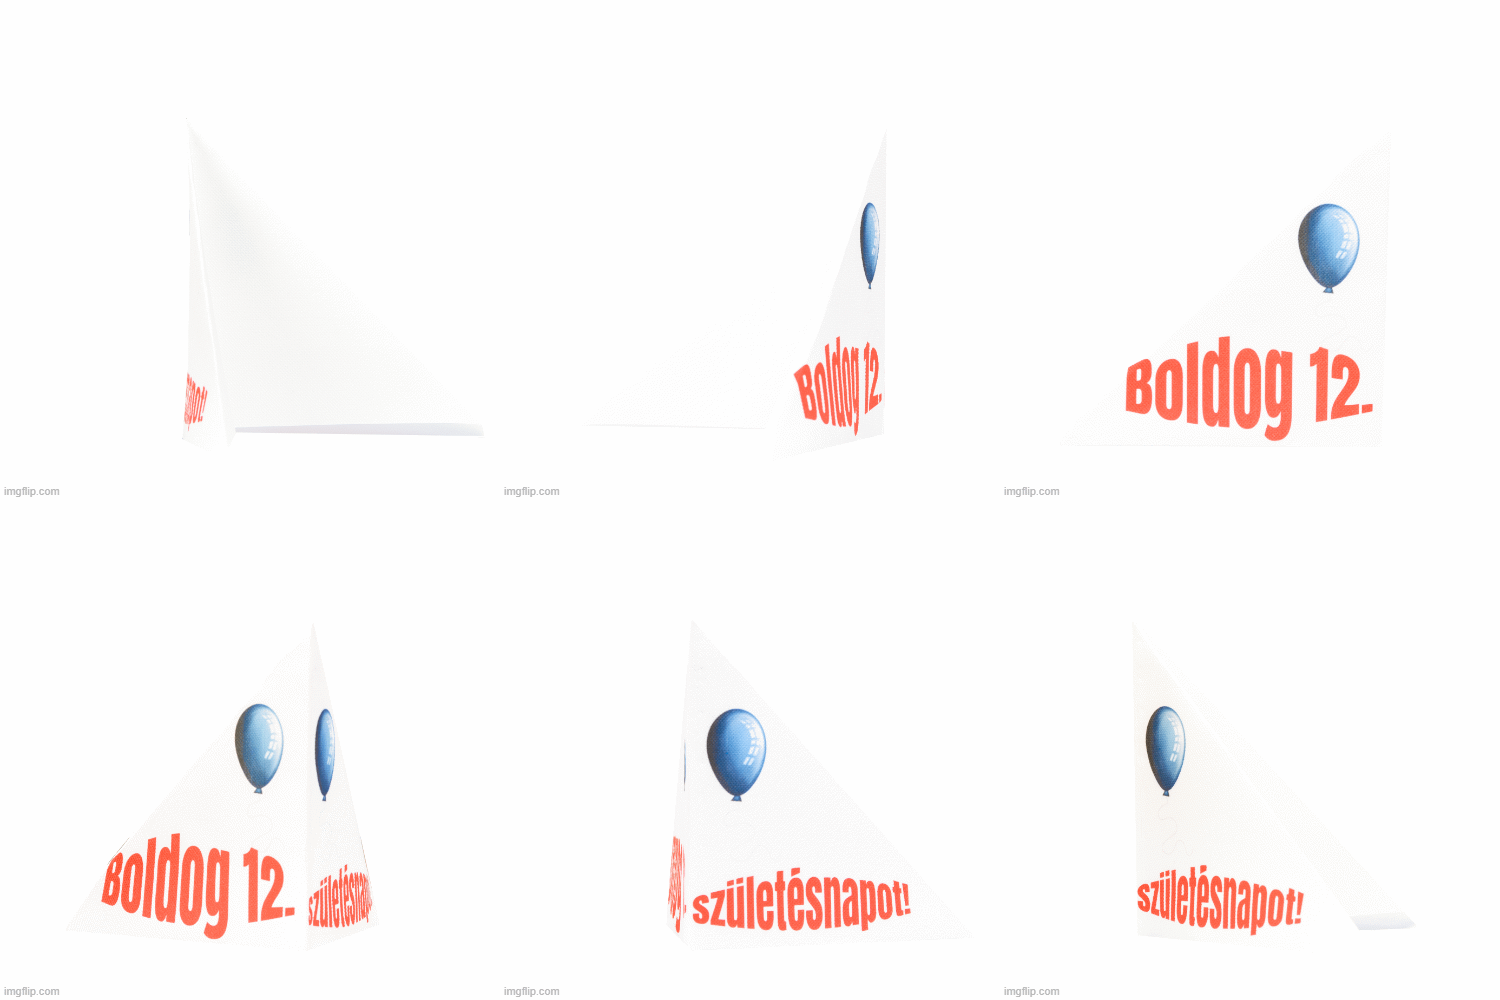
Select a fold (standard, rotated 45°, folded into a triangle, sail fold)
Click on the "megtervezem" Click the button and design your napkin. Feel free to use our preloaded patterns, shapes, and clip art, or create something entirely from scratch. The number of images and text elements you add won't increase your costs.
When you're done designing, add the item to your cart and place your order, just like in an online store. Please note that production time is 5–7 business days from the date of payment.
Click here for more information!